OKTA (Preview) Authenticator Integration
This guide walks you through setting up an OIDC-based Authenticator for Incode Workforce within your Okta environment.
Set up Guide
Step 1: Set up OIDC Identity Provider (IDP)
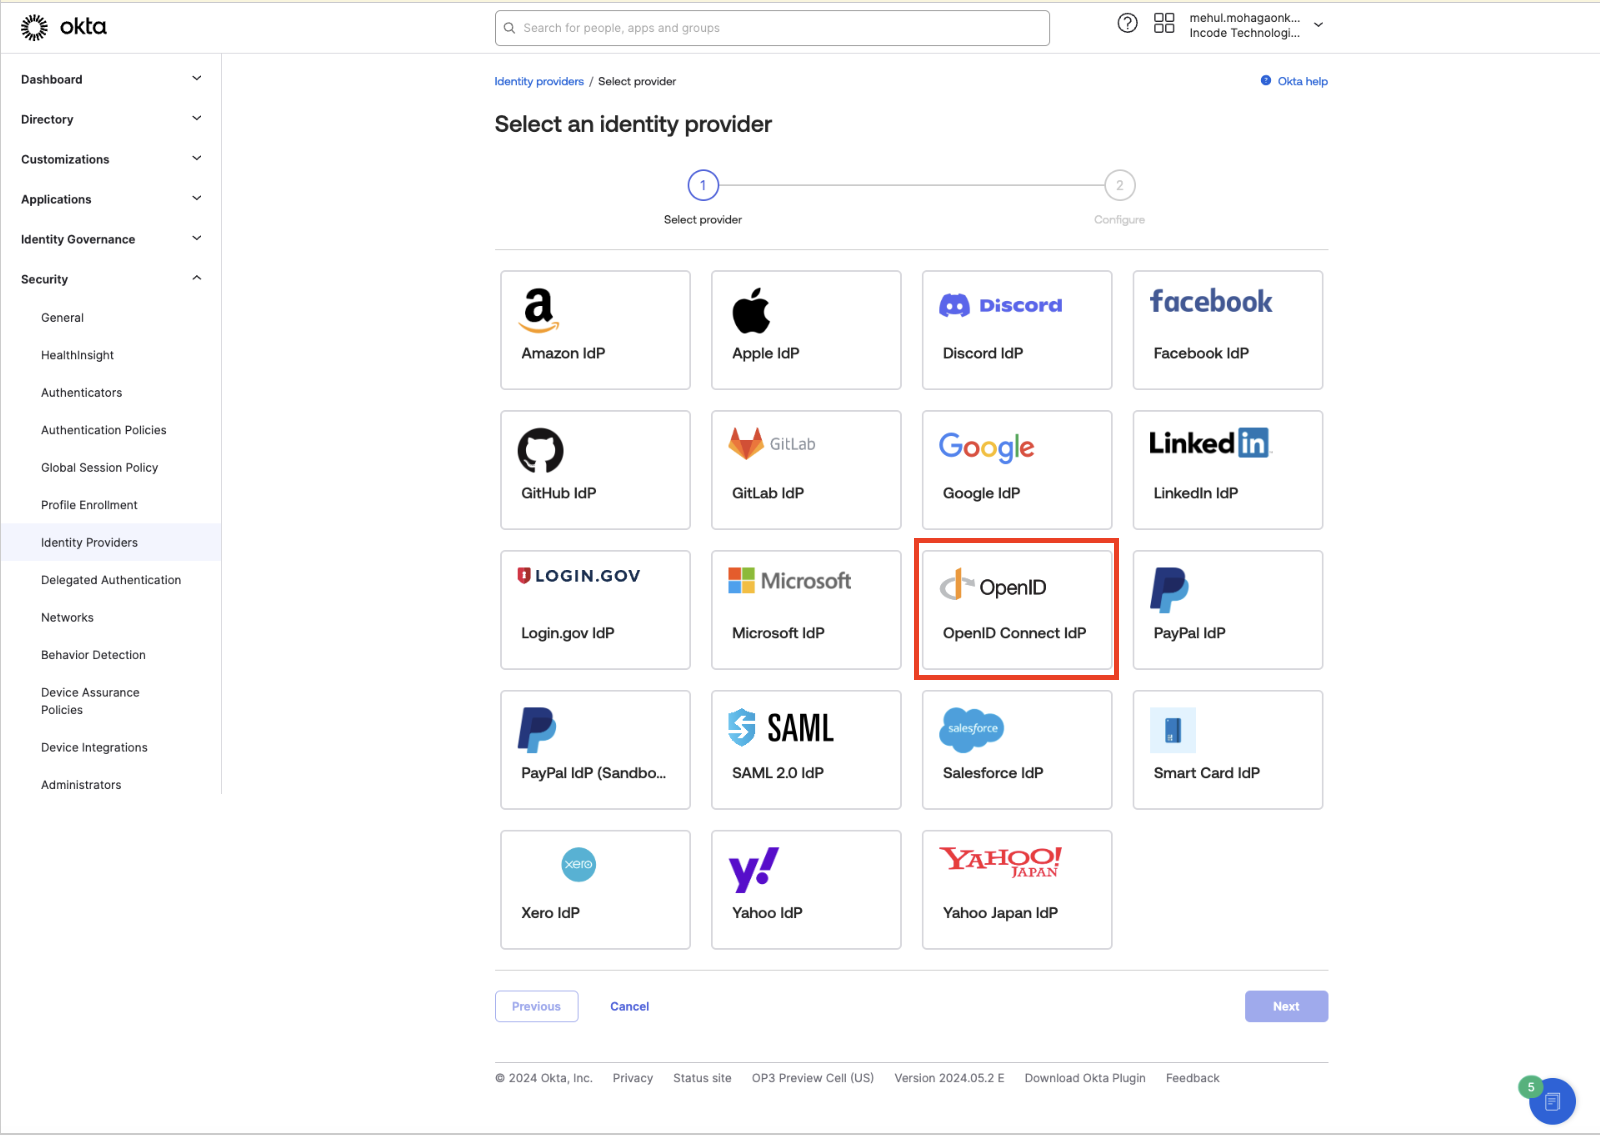
- OKTA Admin Dashboard Add Identity Provider: In the Okta Admin Dashboard, navigate to: Security -> Identity Providers -> Add Identity Provider, select the OpenID Connect IDP
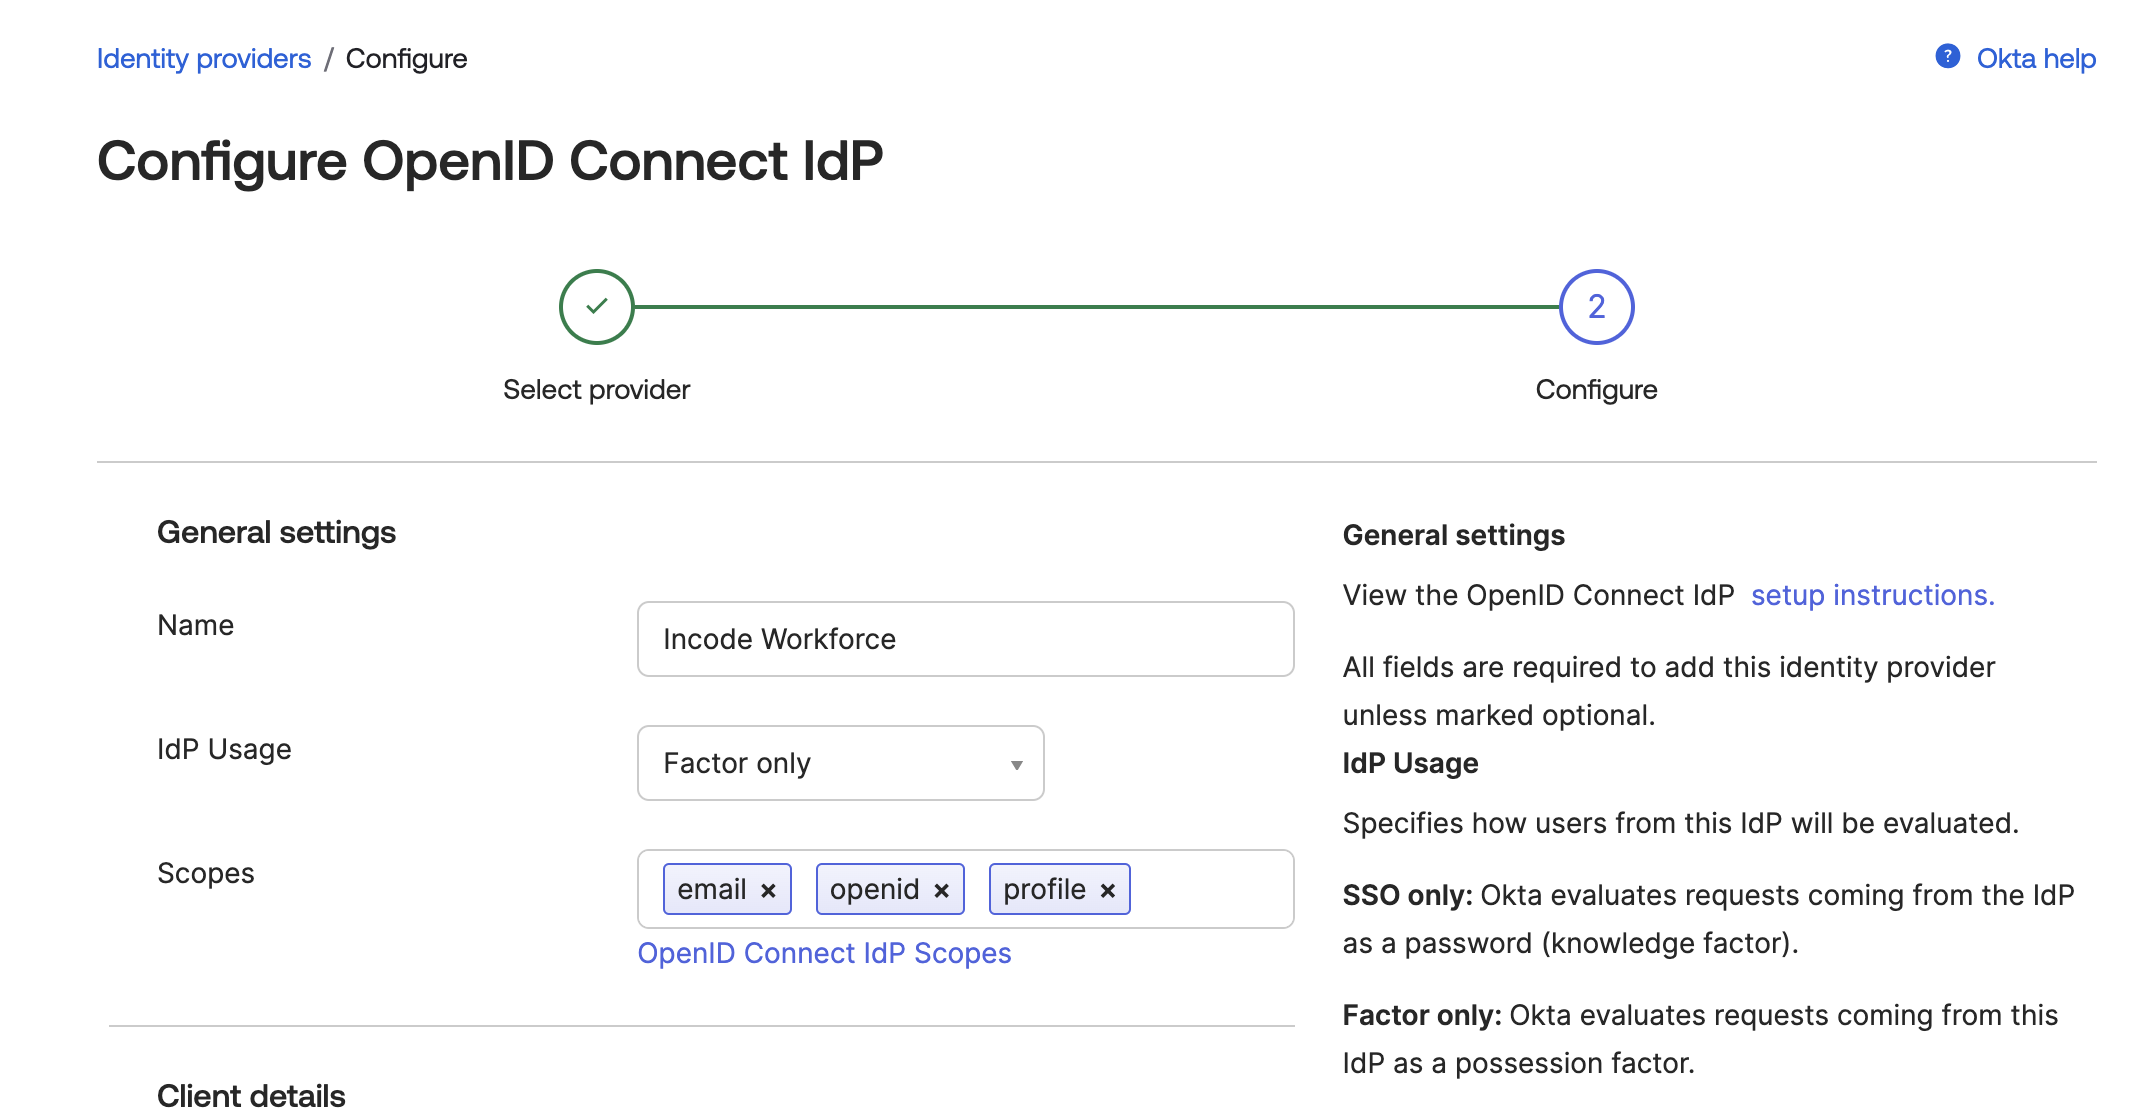
- OKTA Admin Dashboard Configure IDP: Add a name for IDP and change the mode to Factor Only. Make sure the scopes match the required scopes listed: email, openid, profile
- Workforce Dashboard Create OKTA Integration: In your Workforce dashboard, navigate to Integrations and click New Integration. Choose OKTA integration and click Continue.
- Workforce Dashboard Configure Integration: Give your integration a name. This name will be shown in analytics and give insights about verifications done with this particular integration.
- Workforce Dashboard/OKTA Admin Dashboard Copy Fields: Copy the following seven fields from the Incode Workforce Dashboard to Okta:
-
Client ID - Copy the unique client id generated for your integration to OKTA Client ID
-
Client Secret - Copy pre-generated Client Secret (or generate new) to OKTA Client Secret
-
Endpoints: - Copy corresponding endpoints to OKTA endpoints
- Issuer URL
- Authorize URL
- Token URL
- JWKS URL
- Userinfo URL
-
Copy these URLs to the corresponding OKTA Client ID, Client Secret, and Endpoints
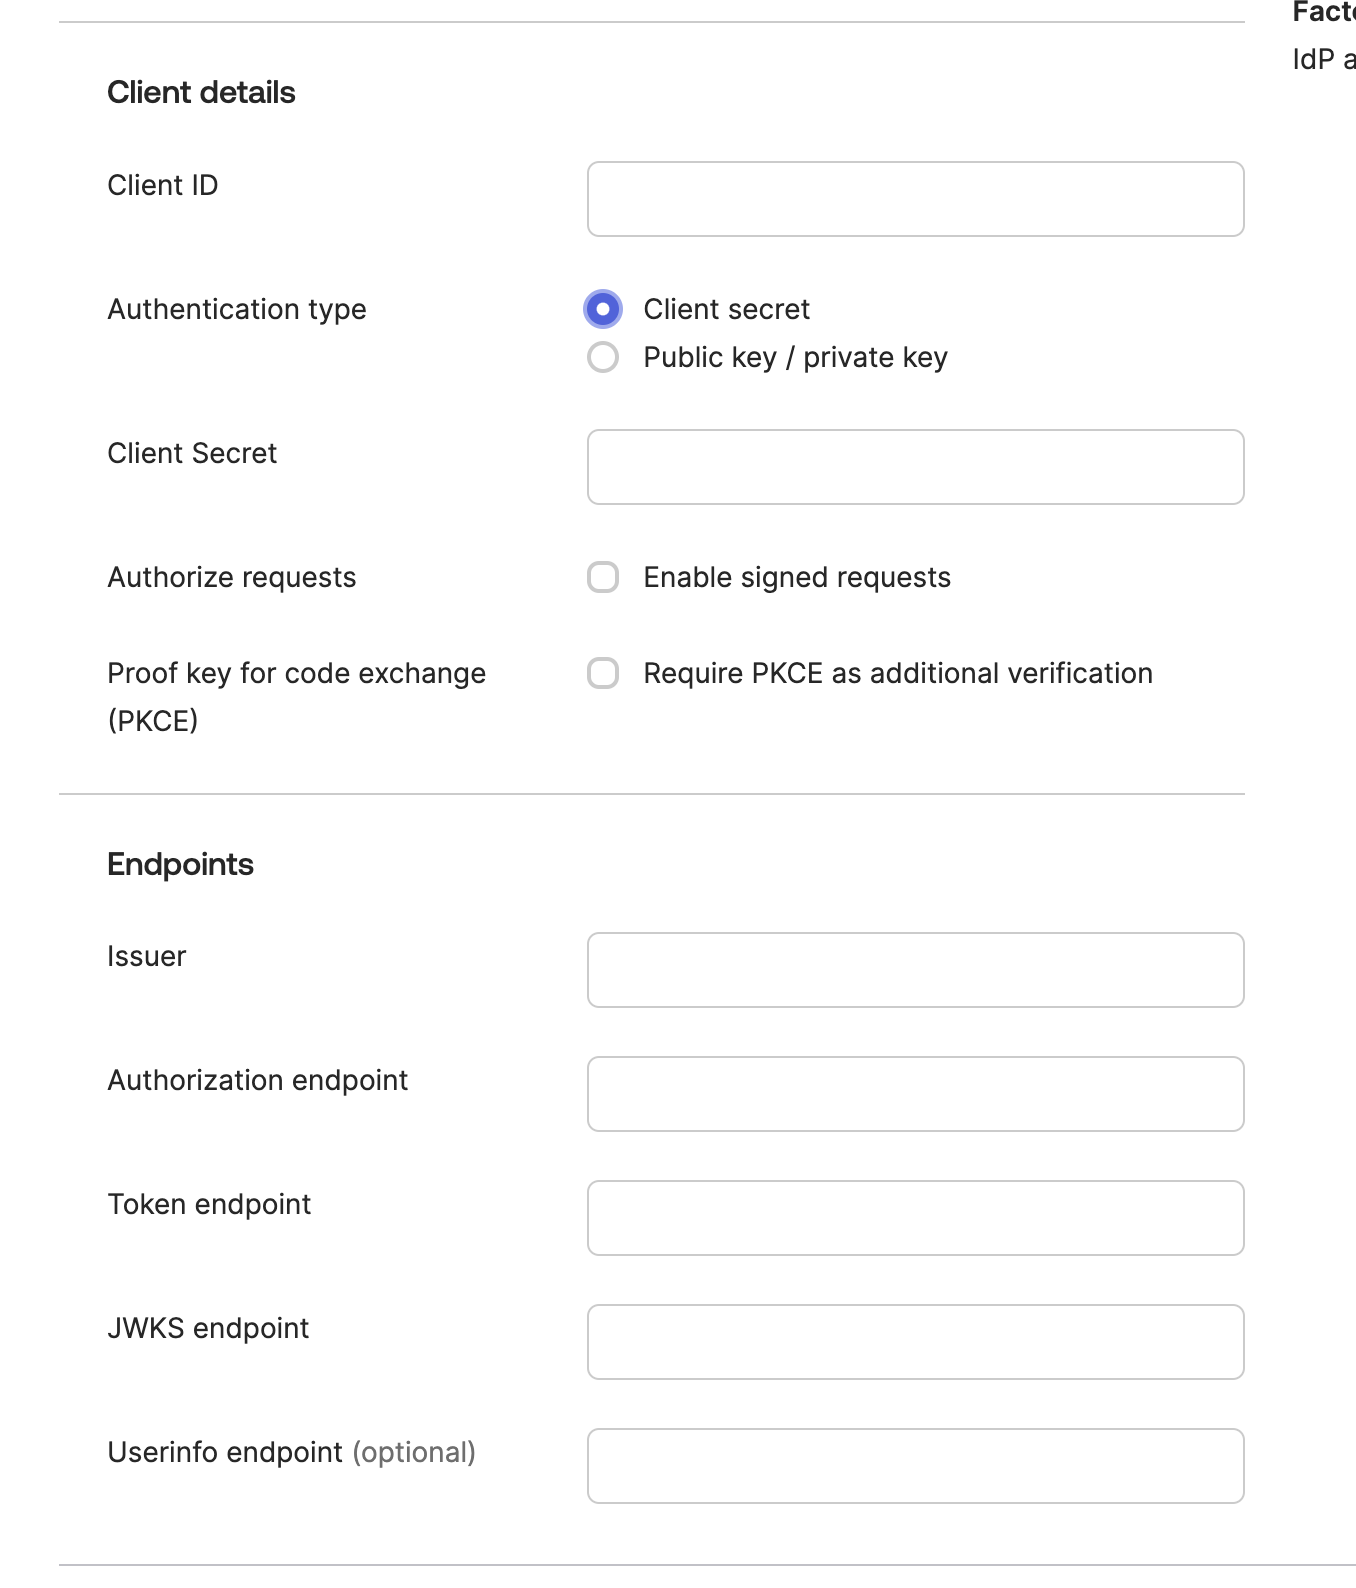
Fill out Client ID, Client Secret and Endpoints with data from Workforce
- OKTA Admin Dashboard Save and Finalize: Choose Authentication type Client secret. After saving the IDP, return to the Incode Workforce Dashboard and copy the Redirect URI.
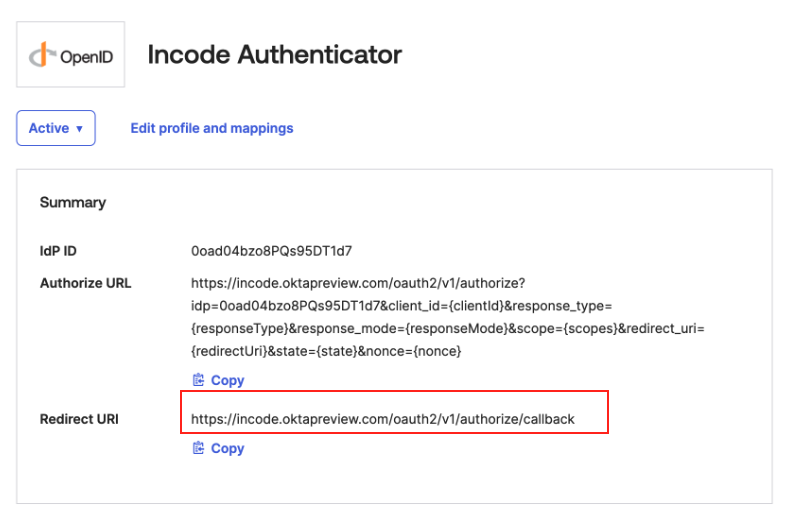
Copy Redirect URI
- Workforce Dashboard Paste Redirect URI: In your Workforce Okta Integration paste Redirect URI from OKTA to Redirect URIs.
- Workforce Dashboard Review and Save: Review your settings by clicking continue to move through the steps. On the last step, click Save.
Step 2: Setup Authenticator that uses IDP setup in step 1
Once IDP is created, the next step is to add an Authenticator within Okta that uses this IDP.
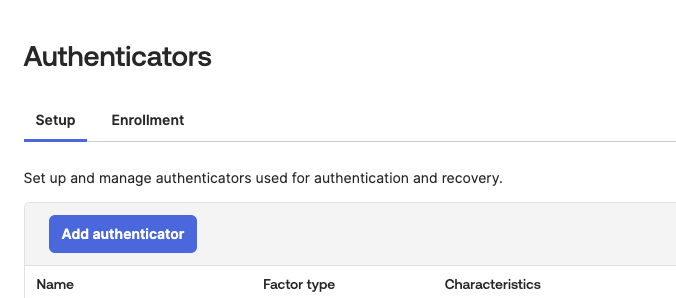
- Navigate to Authenticators: In Security -> Authenticators select Add Authenticator
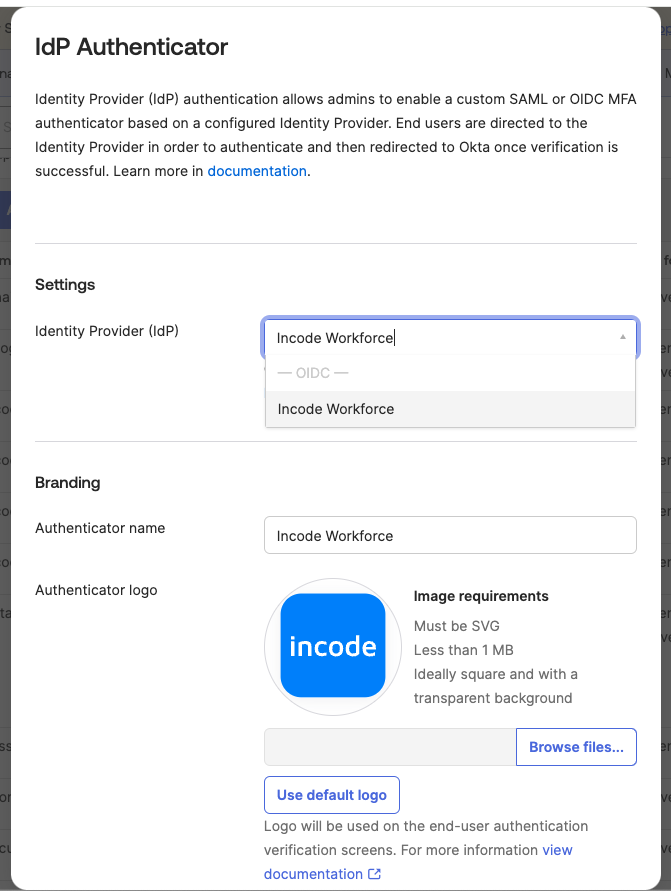
- Select Authenticator Type: Within the list of available Authenticator Types, select 'IDP Authenticator'

- Configure Authenticator:
- Select the Incode Workforce IDP you created earlier.
- Set the name of the Authenticator to Incode Workforce and upload the Incode logo. Please find the Incode logo here.
- Save: Once you save the configuration, the Authenticator will be ready to use in both enrollment and authentication policies.
Step 3: Create Enrollment Policy for the Workforce Assigned User Group
To ensure that every active Okta account in the assigned user group completes enrollment with the Workforce Authenticator, follow these steps. Okta checks for fulfillment of enrollment policies at account creation and every login to ensure continued compliance.
- Add an Enrollment Policy: In the same Authenticators menu, navigate to the 'Enrollment' Tab and select 'Add a Policy'.
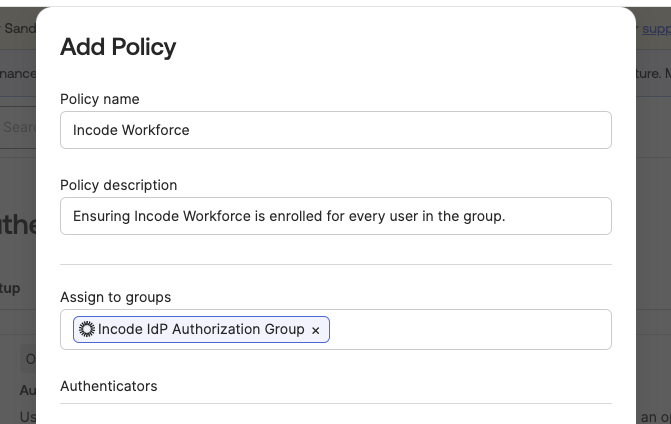
- Configure the Policy:
- Add a name and description for the policy.
- Assign the user group created for Workforce to this policy
- Ensure both Password and Incode Workforce are marked as Required, along with any other MFA methods your organization uses
Workforce Authenticator should be required

Password should be required.

- Passwordless login is coming soon in the Okta Identity Engine (OIE) around the third week of the February release. To enable it, configure Incode Workforce IdP as Required, and set Password as Optional. Okta Administrators should set active new user accounts, set an initial password, and disable the "force password change on next login" option. Users must first verify their account with Incode Workforce, then log in to Okta using the administrator-assigned password. After this initial login, users can enroll with Incode Workforce IdP for future passwordless access.
Step 4: Create Authentication Policies as needed to use Workforce Authenticator during login
The Workforce Authenticator can be added as the highest assurance MFA method in your authentication policies:
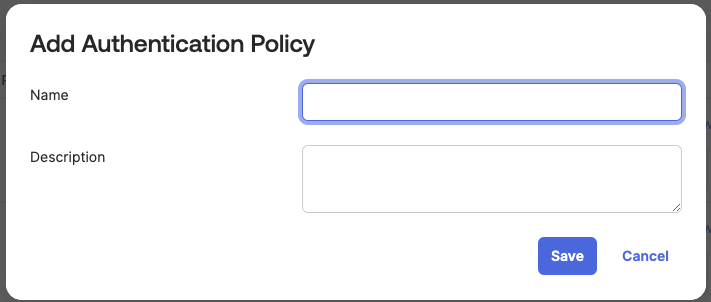
- Add an Authentication Policy.
- Navigate to Authentication Policies and select Add a Policy
- Add name and description as desired:
- Configure the Policy: Once the Policy is created, the next step is to add rules
- Add a name for the rule and select the user group assigned earlier to this rule.
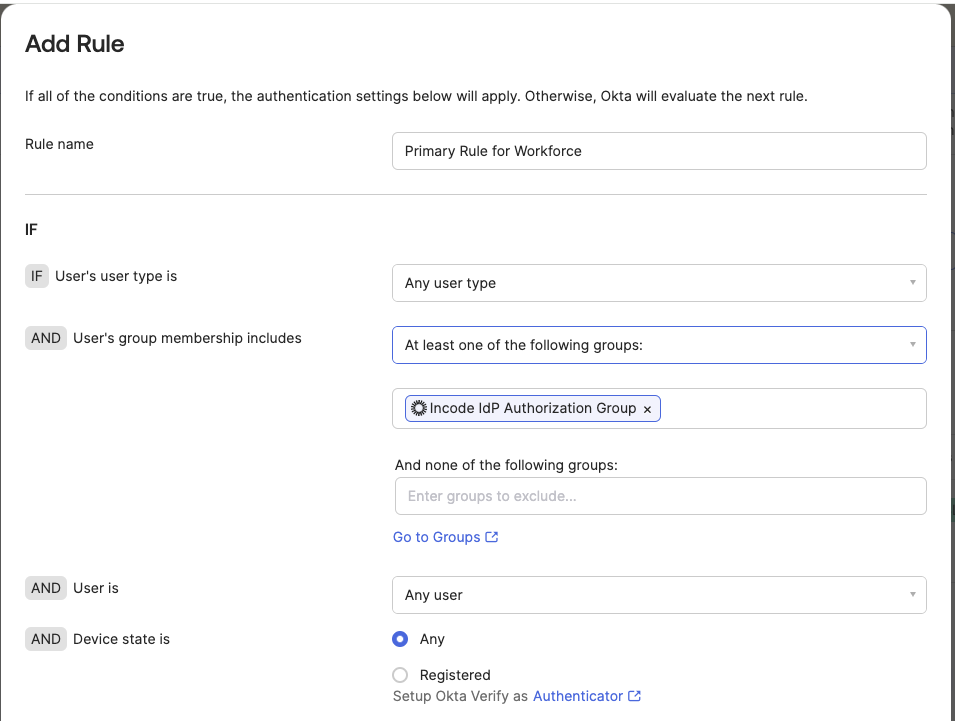
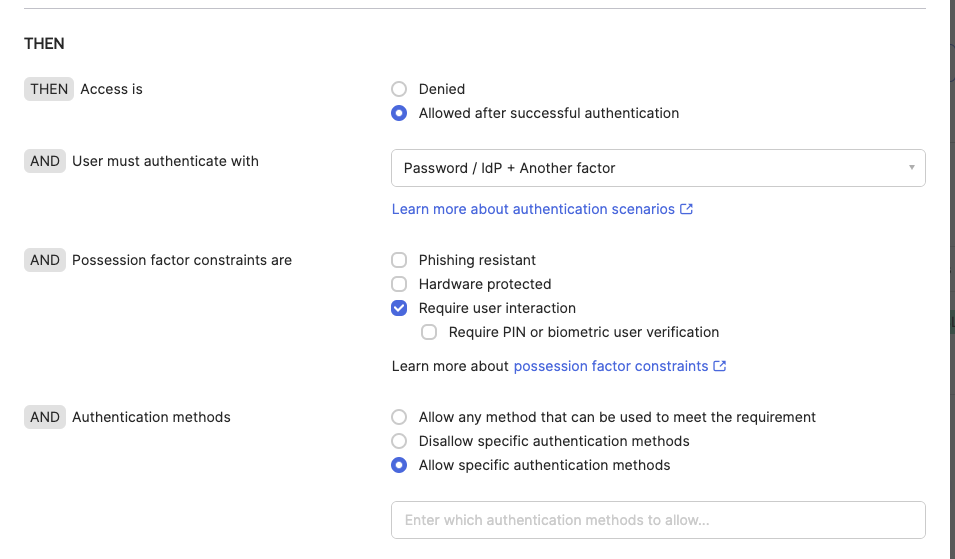
- Now, select 'Password / IDP + Another Factor' and select 'Allow specific authentication methods'. Then add Workforce and Password.
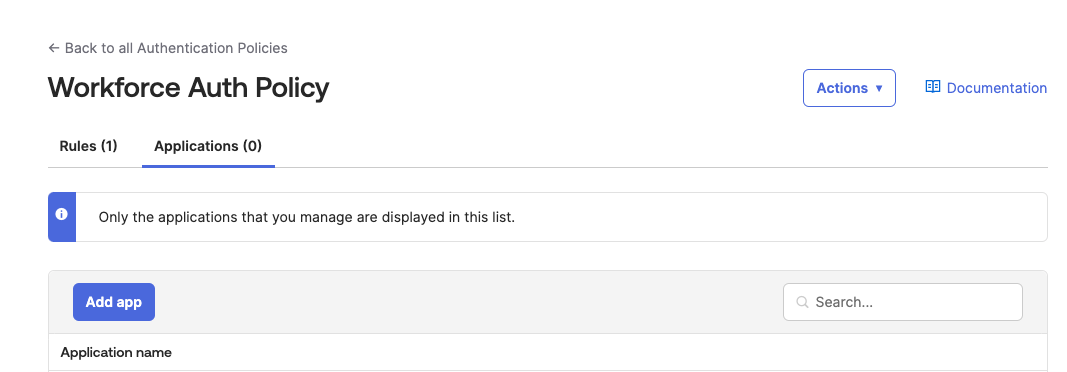
- Apply through Applications: After saving this, the final step is to go into Applications and add desired Apps for which this Authentication Policy should be enforced.
Okta adds new IDP authenticator as optional to the default policy, make sure this is disabled if it is unwanted for your organization
Step 5: Test the Authentication Policy
Incode recommends testing the login process for the selected applications to ensure the new authentication policy works as expected.
Updated 9 months ago