Incode Directory Sync Integration with Okta IAM
Incode Workforce integrates with your Okta instance via a Service Application to sync with the employee directory and manage password or MFA reset requests on behalf of employees. By leveraging Okta Service Applications, your Okta admin can grant specific scopes that Workforce requires and monitor logs as needed within Okta.
Before You Begin
To successfully configure Incode Workforce with your Okta instance, ensure the following prerequisites are met:
- Admin Access: You must have admin access to your company’s Okta instance.
- Okta Early Access Feature: Enable the Okta Account Management Policy feature. This is required to enforce Incode Workforce as the only method for authorizing passwords or MFA resets.
- Complete Employee Profiles: Ensure mandatory user data is added to each employee's profile in Okta.
User Profile Configuration Requirements
Incode Workforce reads data from user profiles within Okta. Navigate to Directory -> People -> Profile and verify that the following fields are populated for each user to enable identity verification:
- First Name: User's first name (or given name)
- Last Name: User's last name (or surname)
- Primary Work Email: User's primary company email address
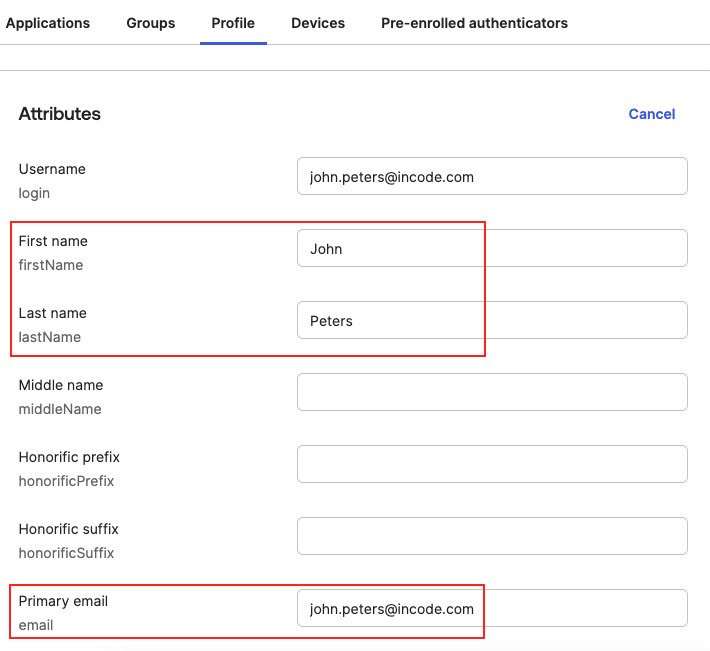
Fill out first, last name and primary Email for all users in your employee directory
Workforce IAM Settings for API Access to Employee Directory
Okta Service Application Configuration
To configure Incode Workforce for syncing the employee directory and handling password/MFA resets, create a Service Application in Okta by following these steps:
Step 1: Create the App Integration
- Go to your Okta Admin Dashboard
- Navigate to Applications and click Create App Integration
- Select API Services as the integration type
- Name the application "Incode Workforce"
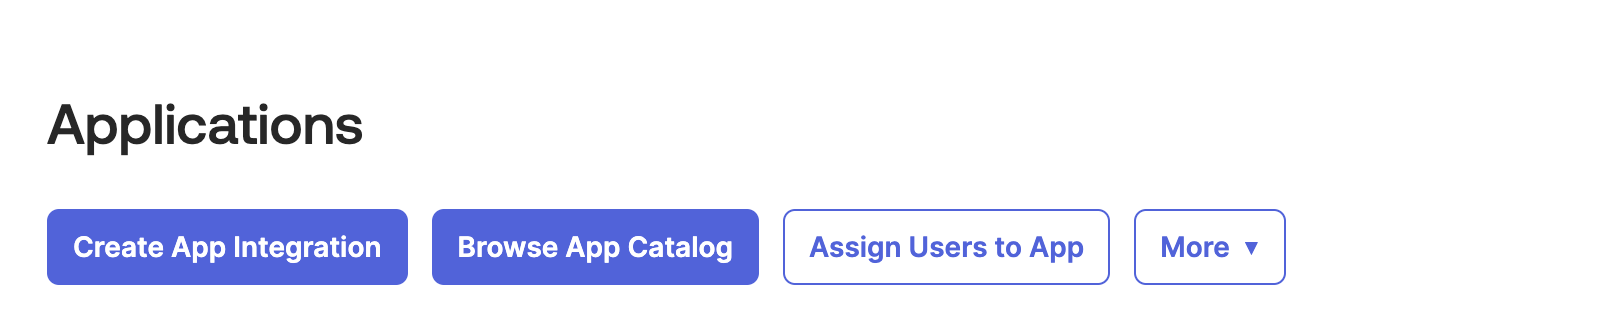
Create App Integration
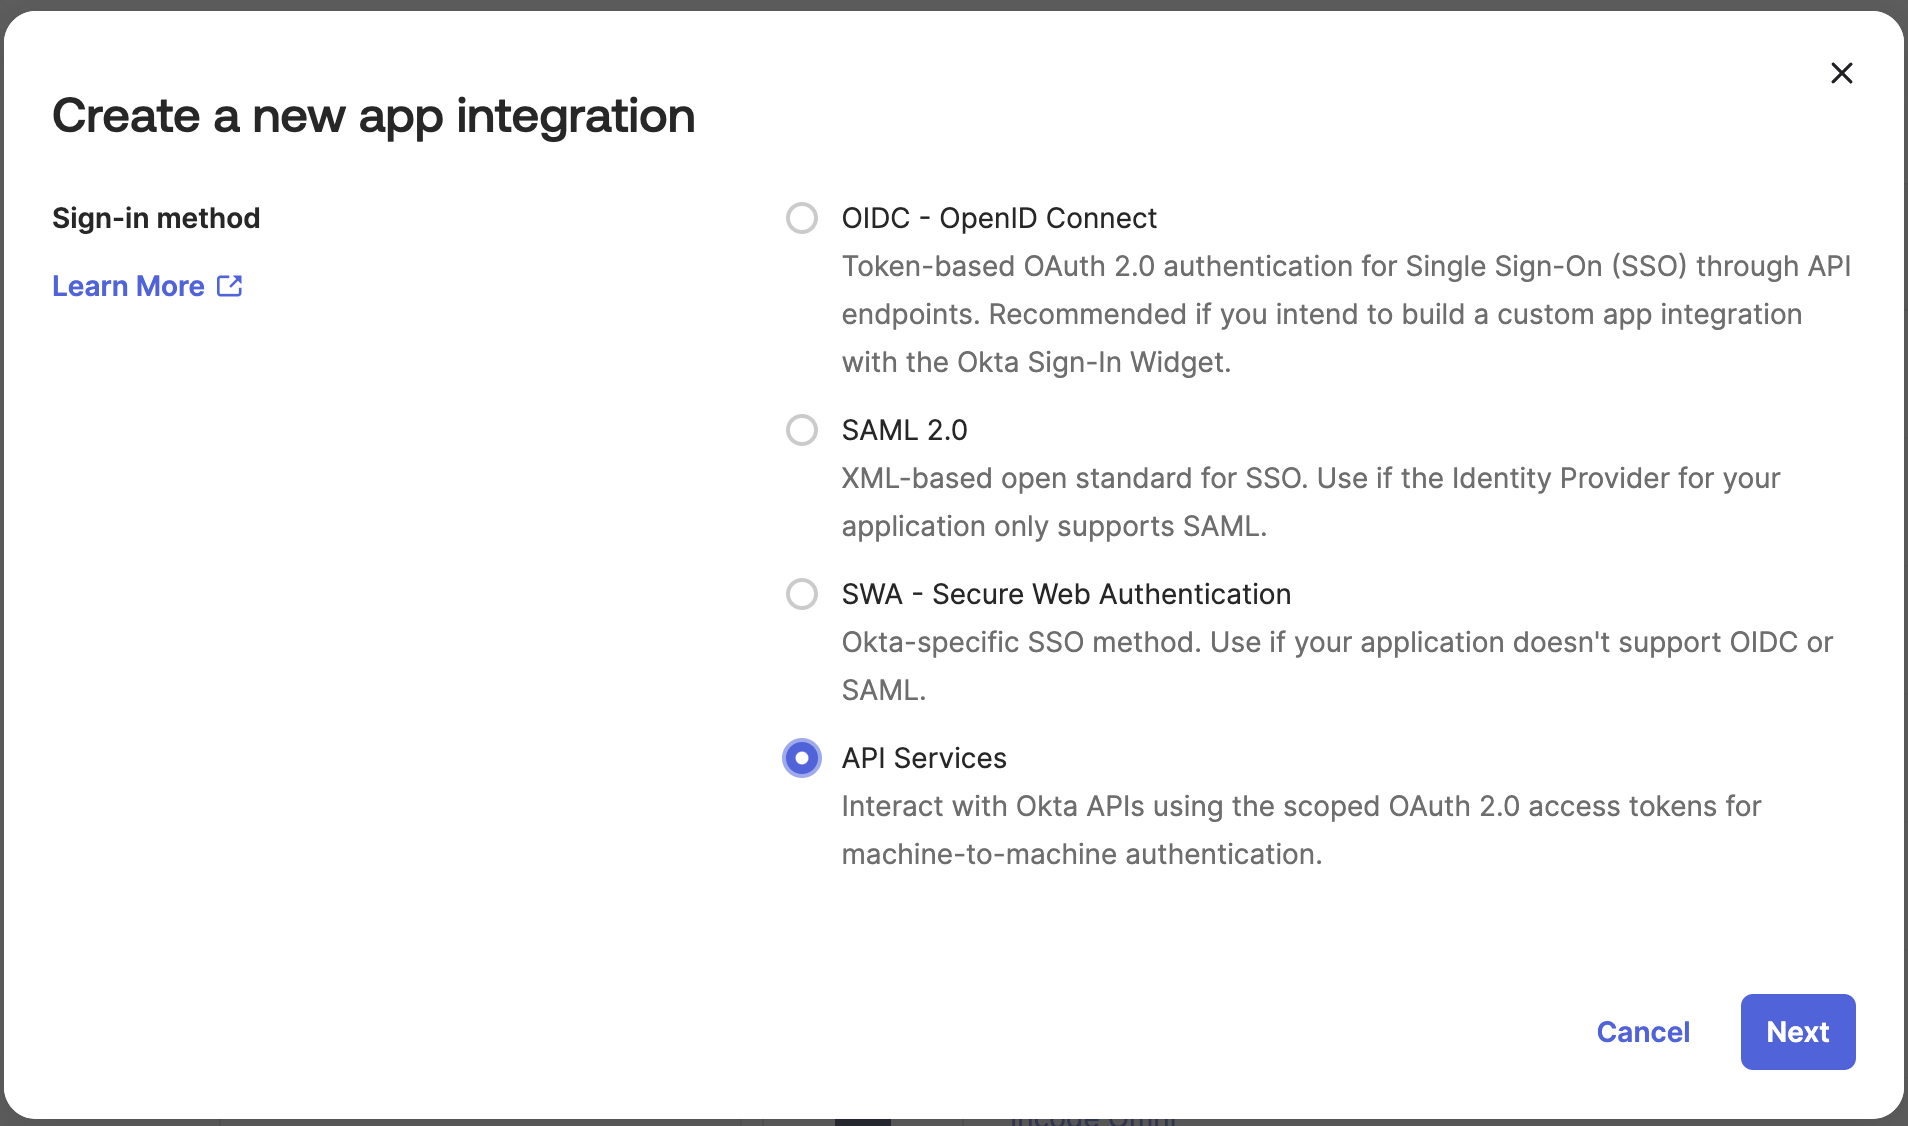
Select API Services type
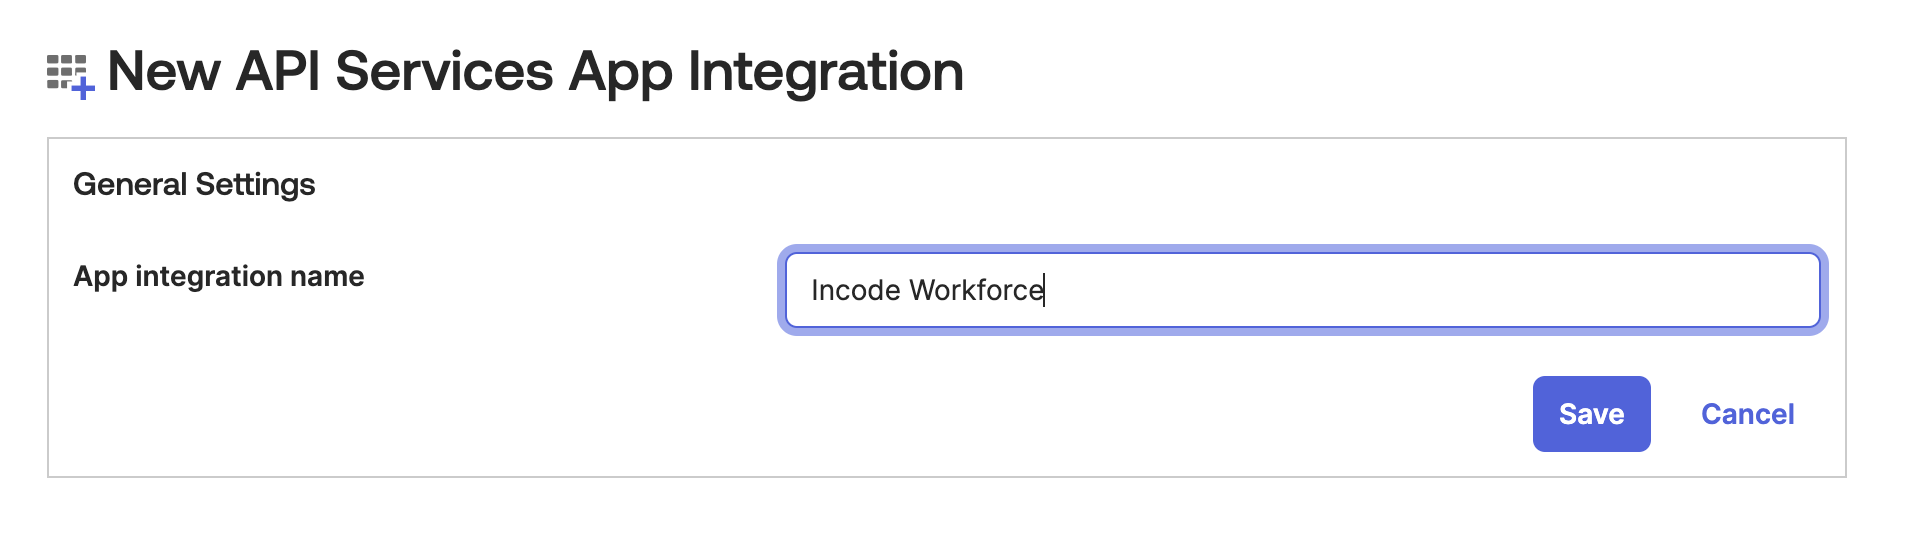
Name integration
Step 2: Grant Scopes
- Go to your Okta Admin Dashboard
- Once the application is created, navigate to Okta API Scopes and grant the following scopes to the application:
- okta.groups.read
- okta.users.manage
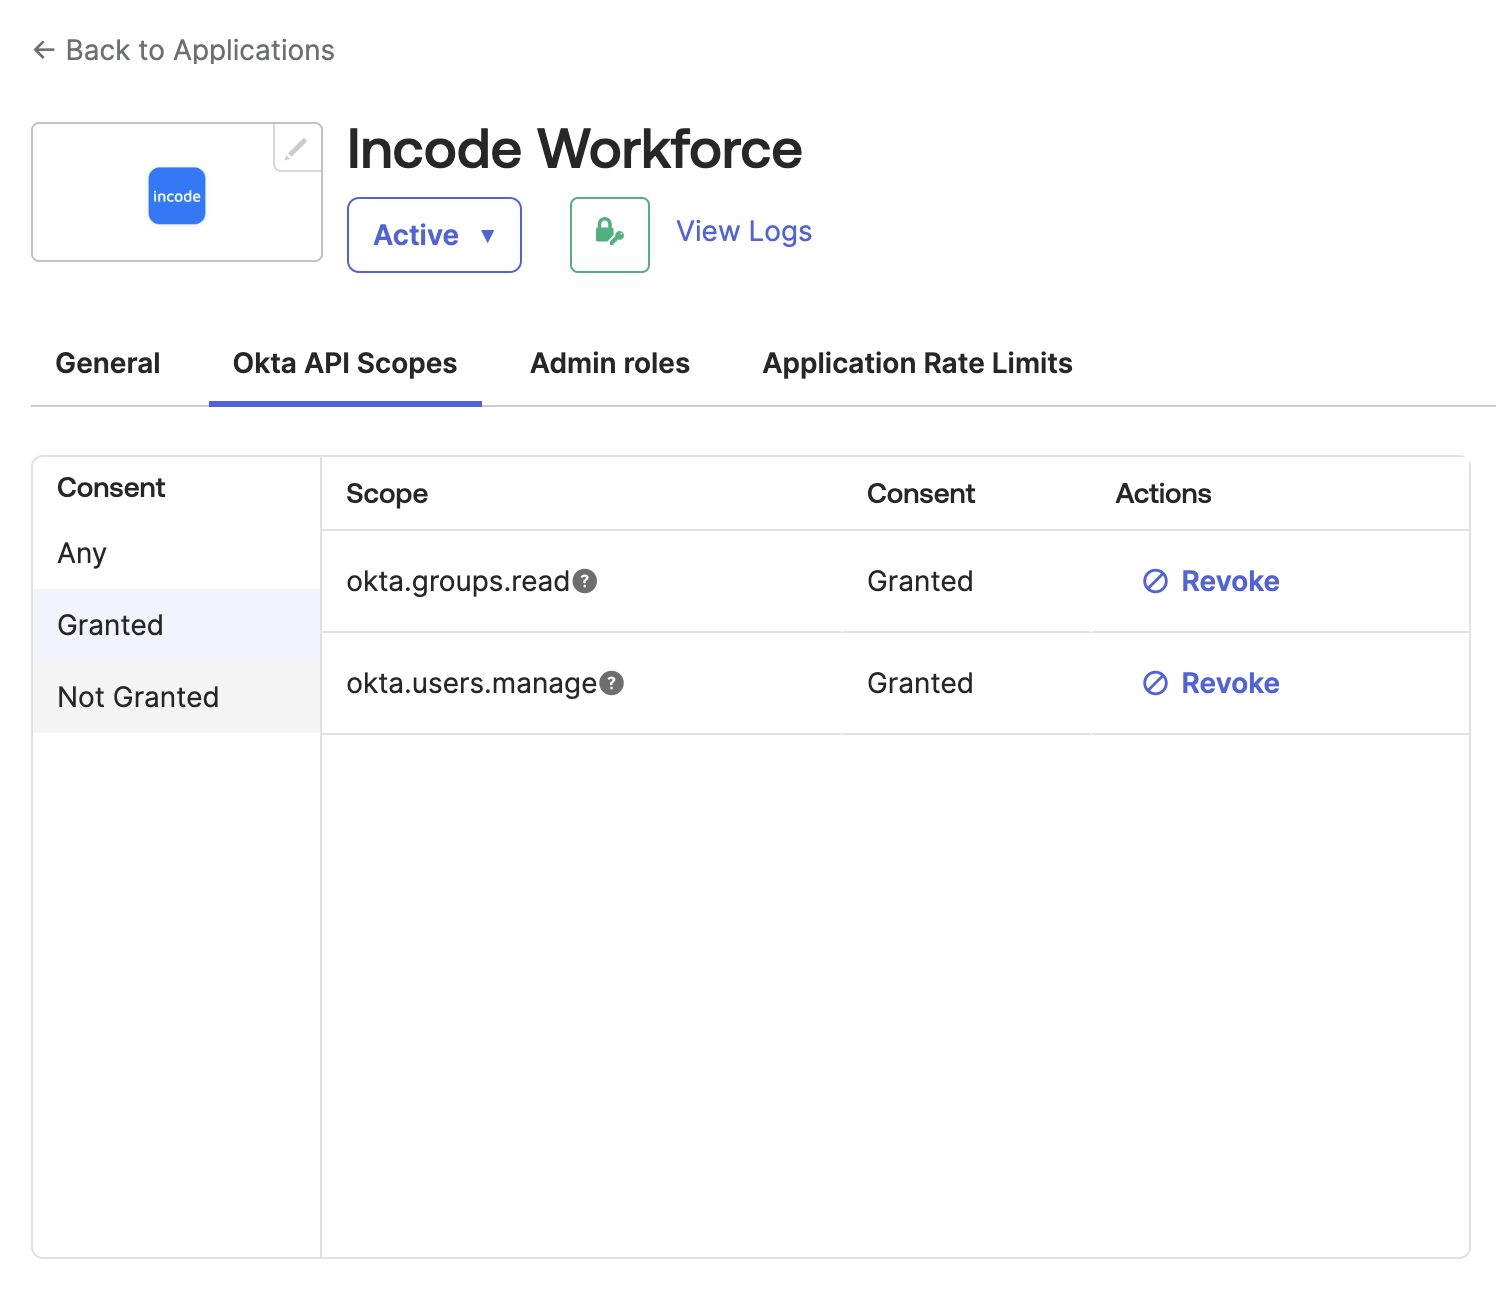
Grant scopes
Step 3: Assign Role and Group
- Navigate to Admin Roles in your Okta Admin Dashboard
- Add the Help Desk Administrator role to the application
- Assign the user group representing all active employees to this role
Please note that users who have higher role than Help Desk Administrator will not be able to reset their Okta password or MFA using Incode Workforce. For more details, refer to the Okta Help Desk Admin Role Documentation here and here.
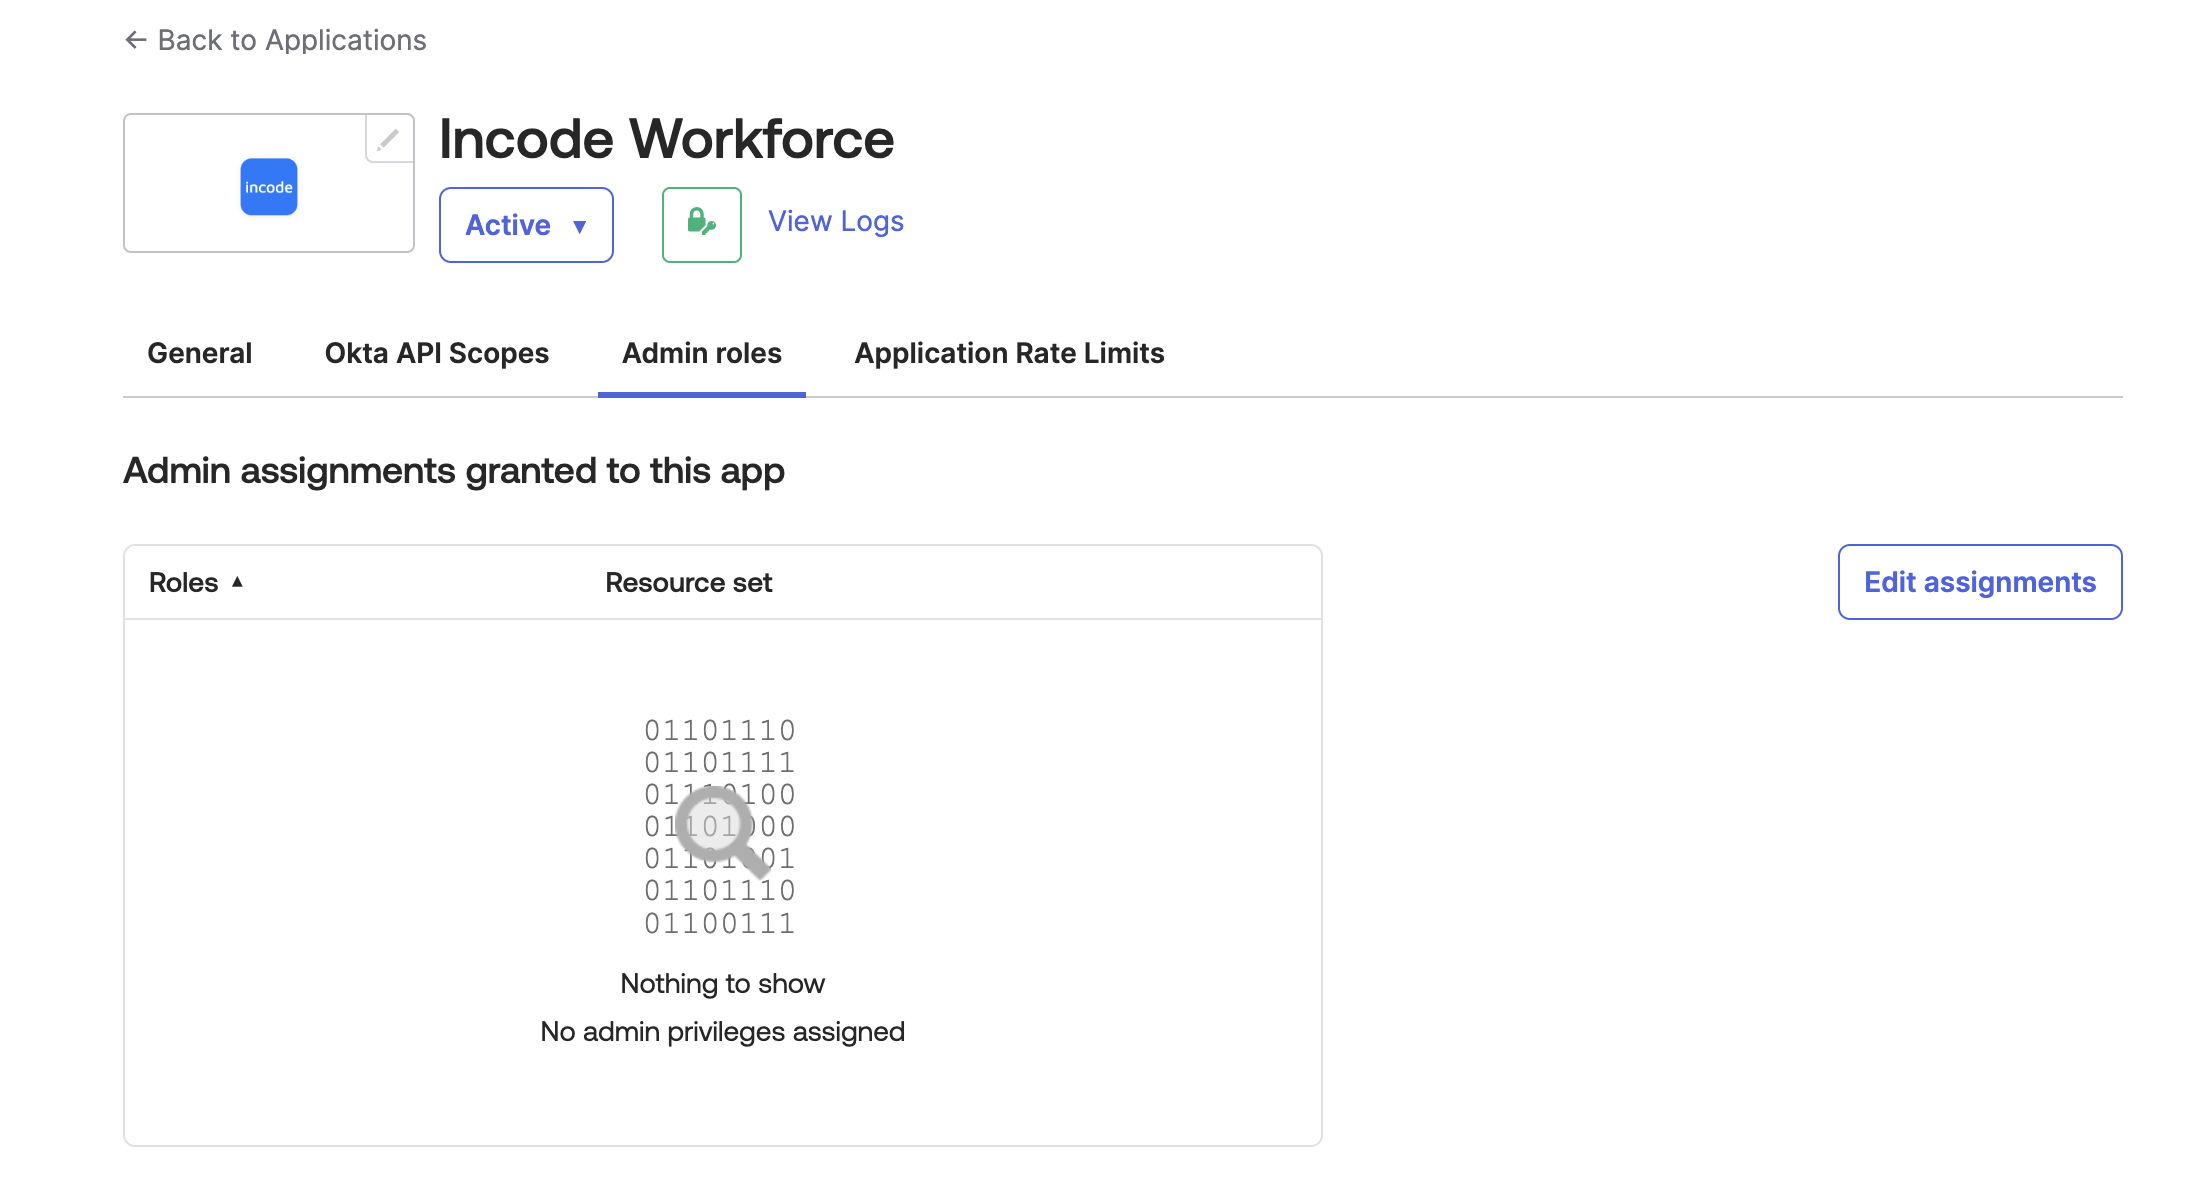
Click 'Edit Assignments'
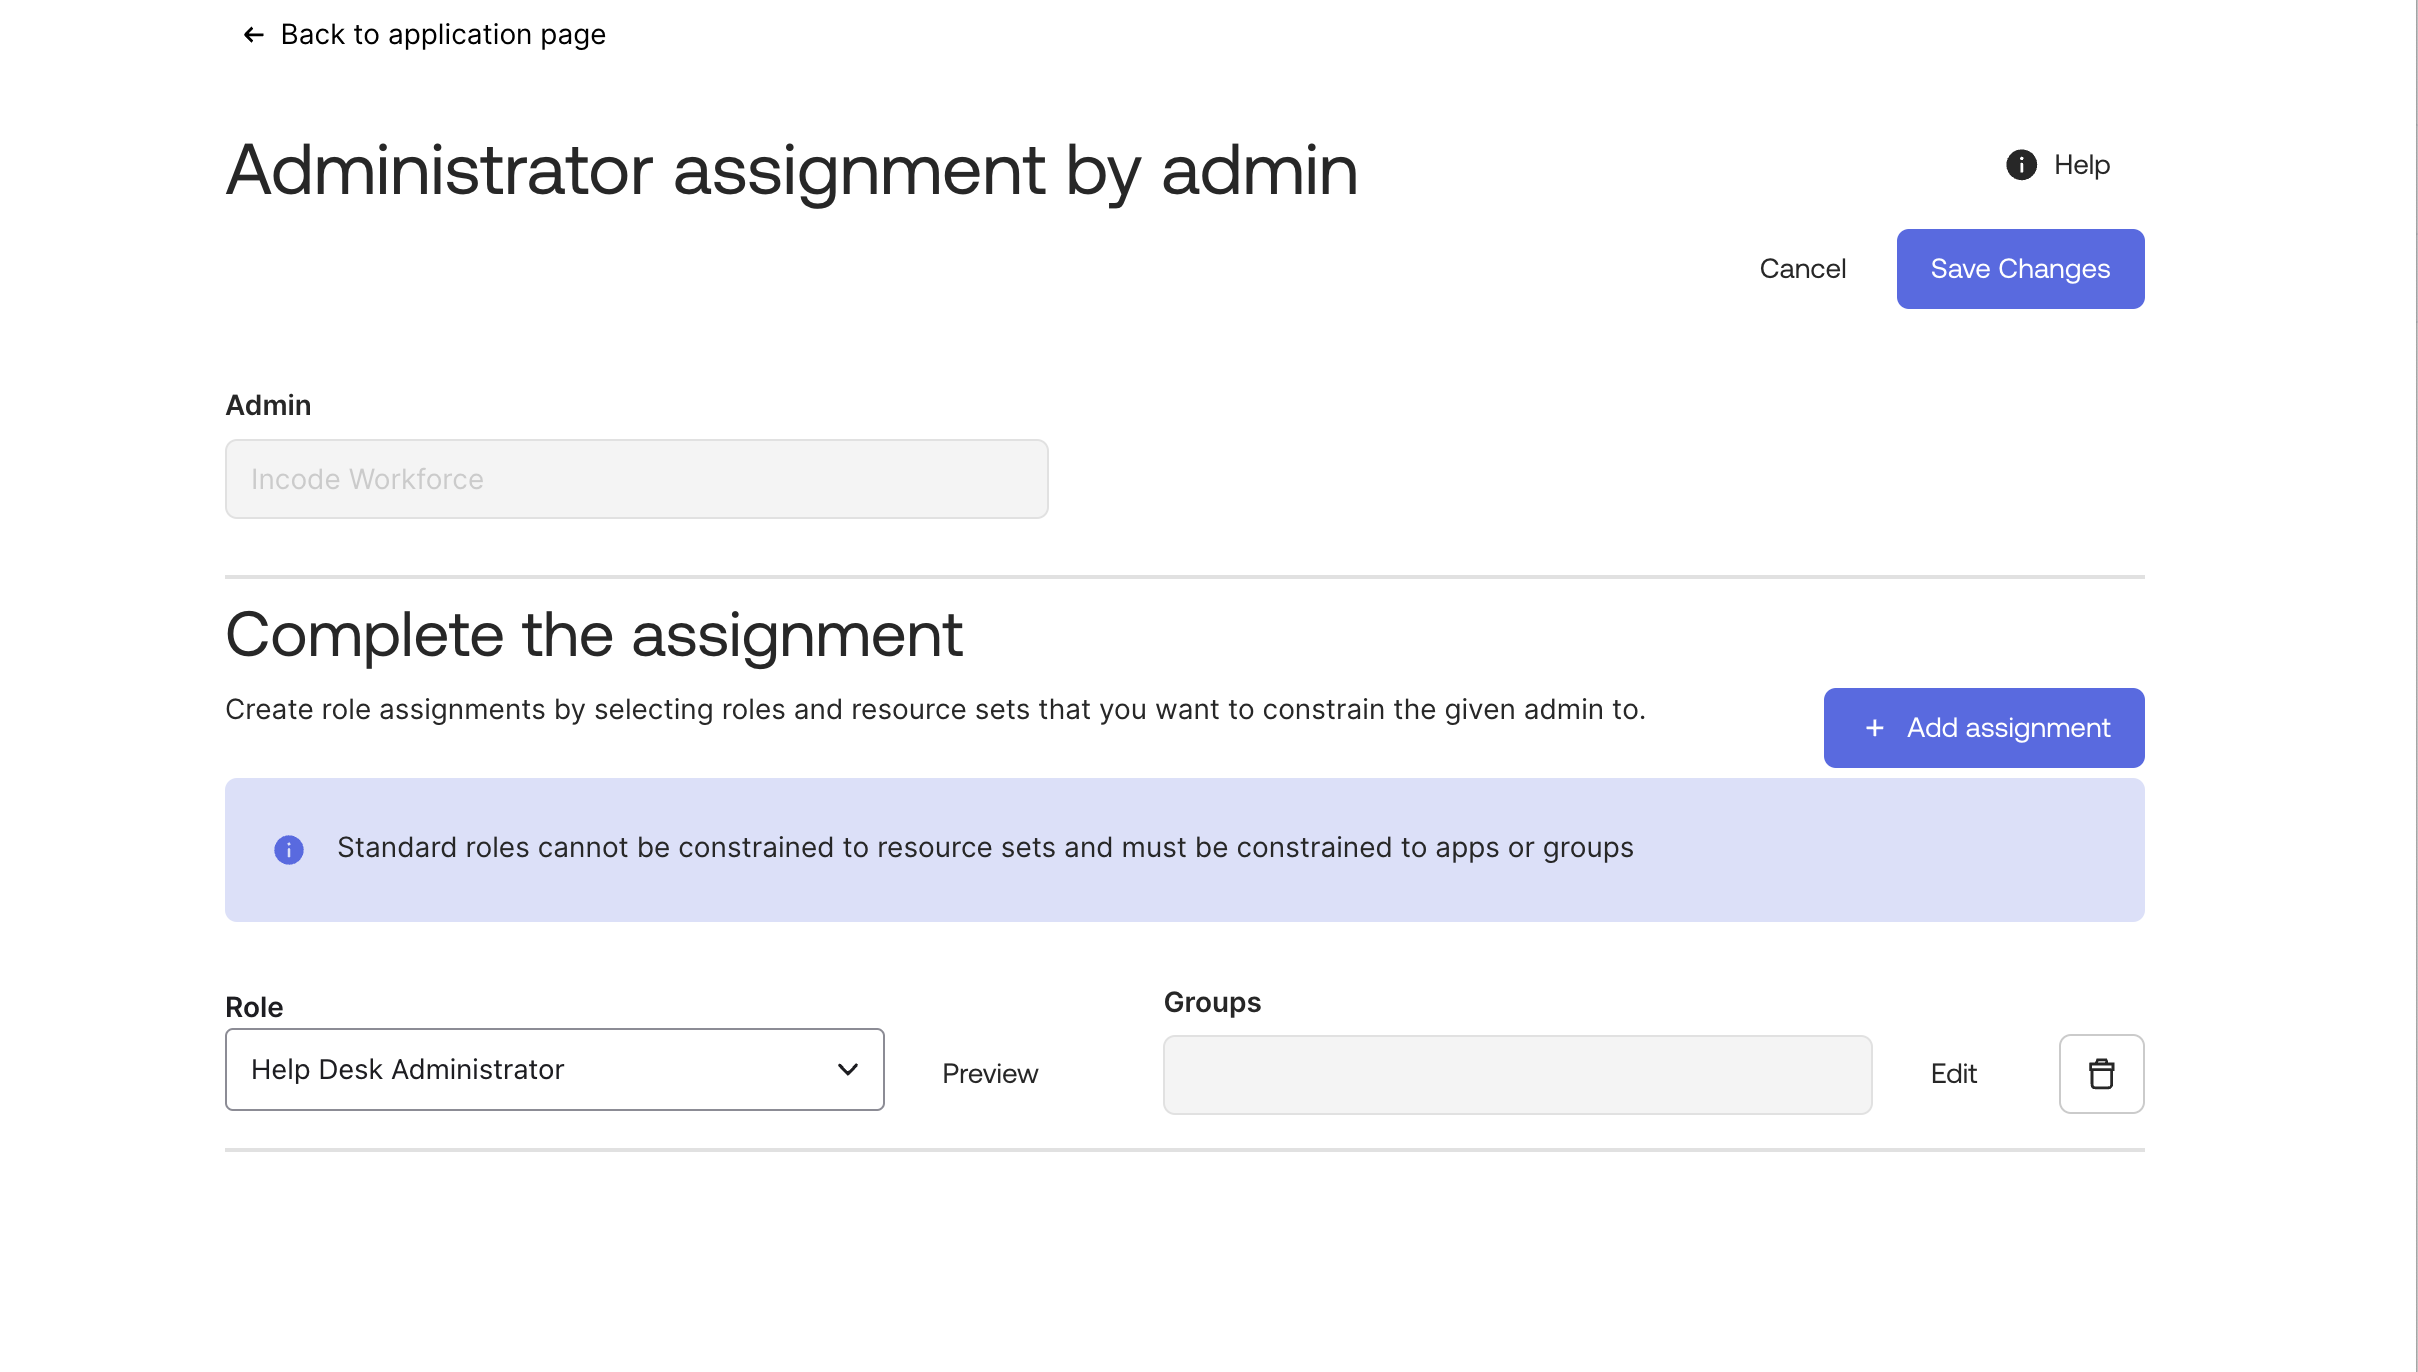
Add the 'Help Desk Administrator' Role
](https://files.readme.io/43a675e4e087ce4b0d5b904c74a4f67d03b9a6d63998cca0c7633075d68a0f96-Screenshot_2024-09-16_at_12.00.32_PM.png)
Assign the Group that represents all active employees
Step 4: Configure General Settings
- Ensure the application’s General Settings within the Okta Admin Dashboard match the example configuration provided in the screenshots below.
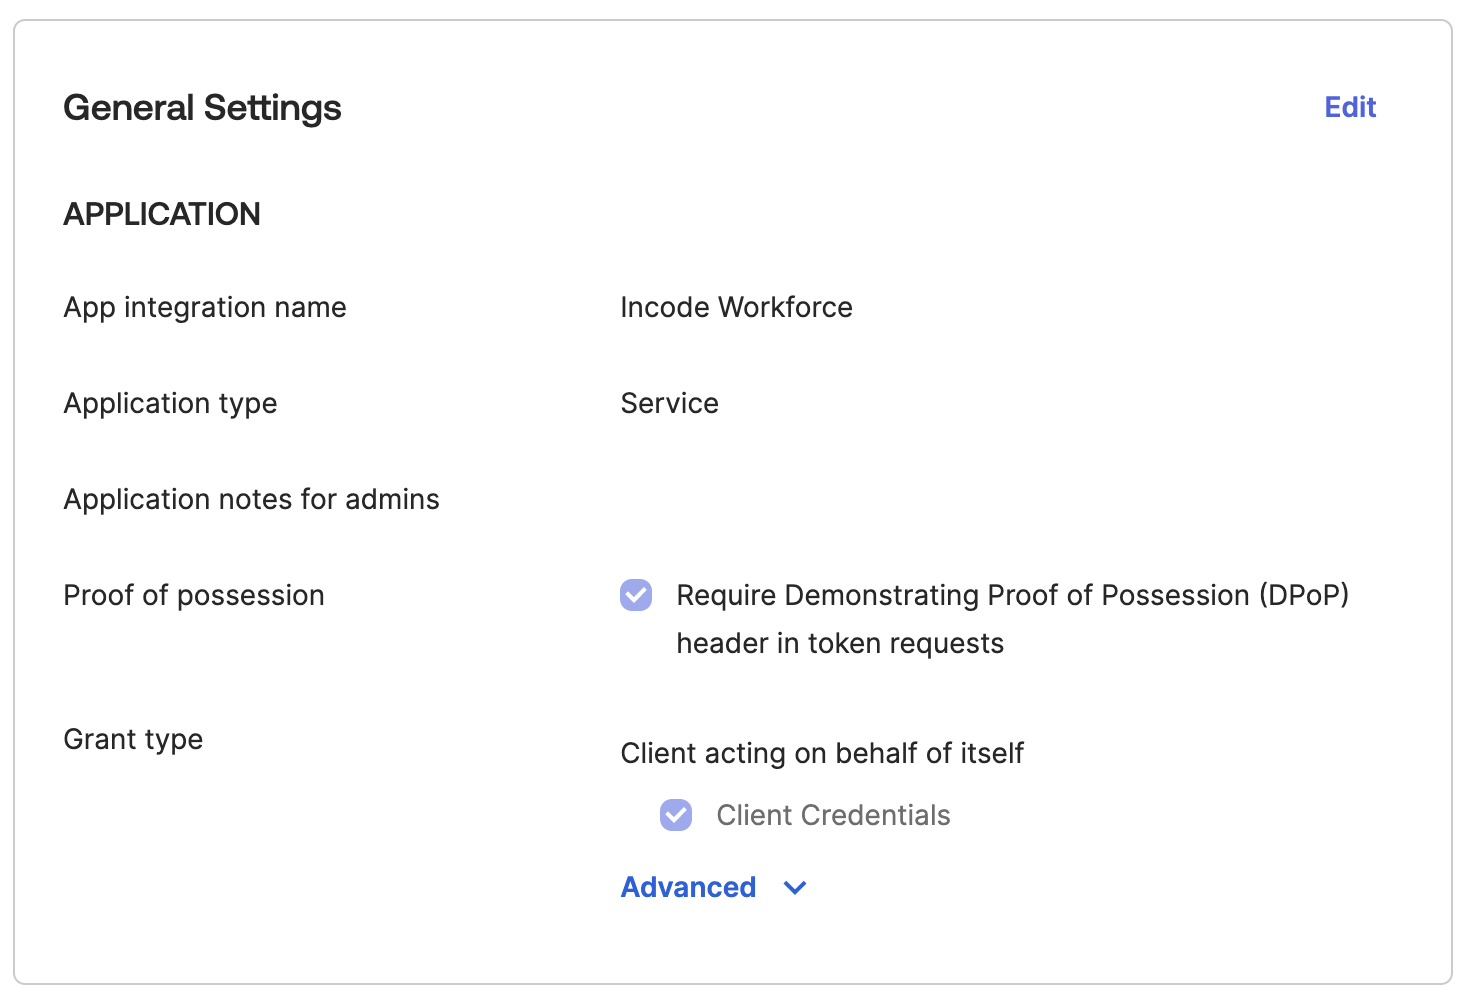
Review Settings
- (Optional) Within your Okta Admin Dashboard, upload the Incode logo to personalize your application. Please find the Incode logohere.
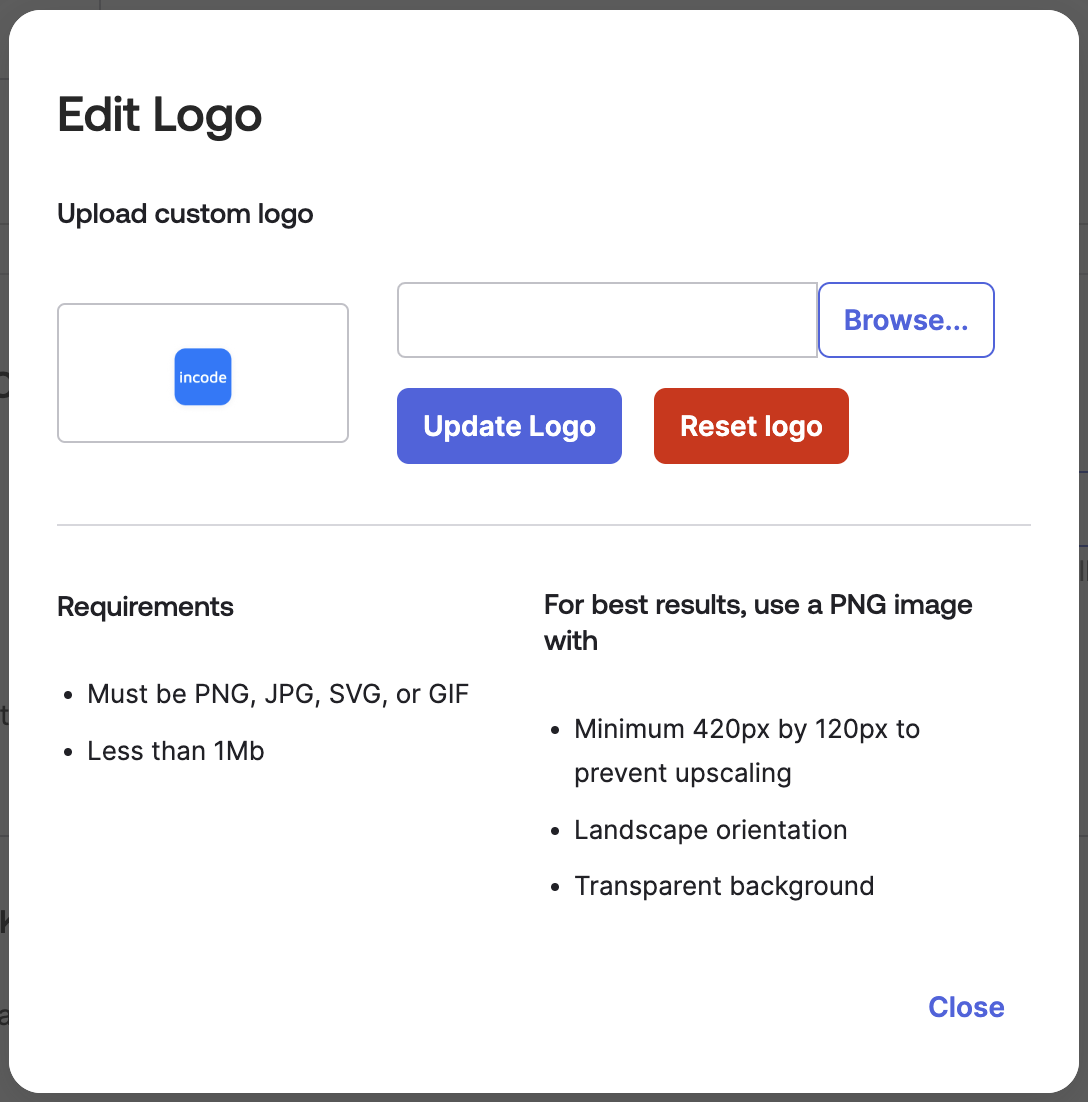
Upload logo
Workforce Configuration
Step 1: Select IAM Provider
- In the Incode Workforce Dashboard go to Settings -> IAM Settings
- Under IAM API Integration, select Okta as the IAM provider
Step 2: Configure the IAM Provider
In the Incode Workforce Dashboard, under Configure Provider, provide the following details:
-
Client ID: Retrieve the Client ID from the Service Application you've just created in the Okta Admin Dashboard (from Okta Admin Dashboard)
-
Group ID: Use the Group ID of the user group you want to assign to Workforce. You can find the Group ID when viewing the group details in Okta (e.g., typically starts with 00gguum...).
Please note that if you're Group ID contains more than one user with the same Primary Email, the Directory Sync will fail. Please ensure there are no Service Accounts with a duplicate primary email.
- Host URL: Enter the full URL of your Okta instance (e.g., https://yourcompany.okta.com). Ensure the URL includes https.
Step 3: Copy Public Key
- In your Incode Workforce Dashboard once you save the IAM settings, a Public Key will be generated
- Copy this Public Key
Step 4: Update Application Credentials in Okta
- Go to your Application General Settings in Okta Admin dashboard
- Edit Client Credentials and select Public/Private Key as the credential type
- Paste the Public Key from the Incode Workforce Dashboard into Okta and save
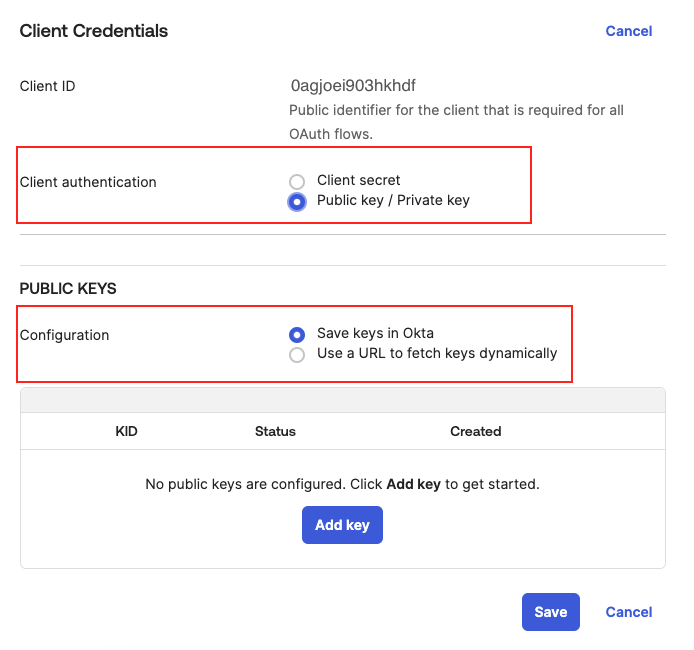
Select Public/Private key and Save keys in Okta
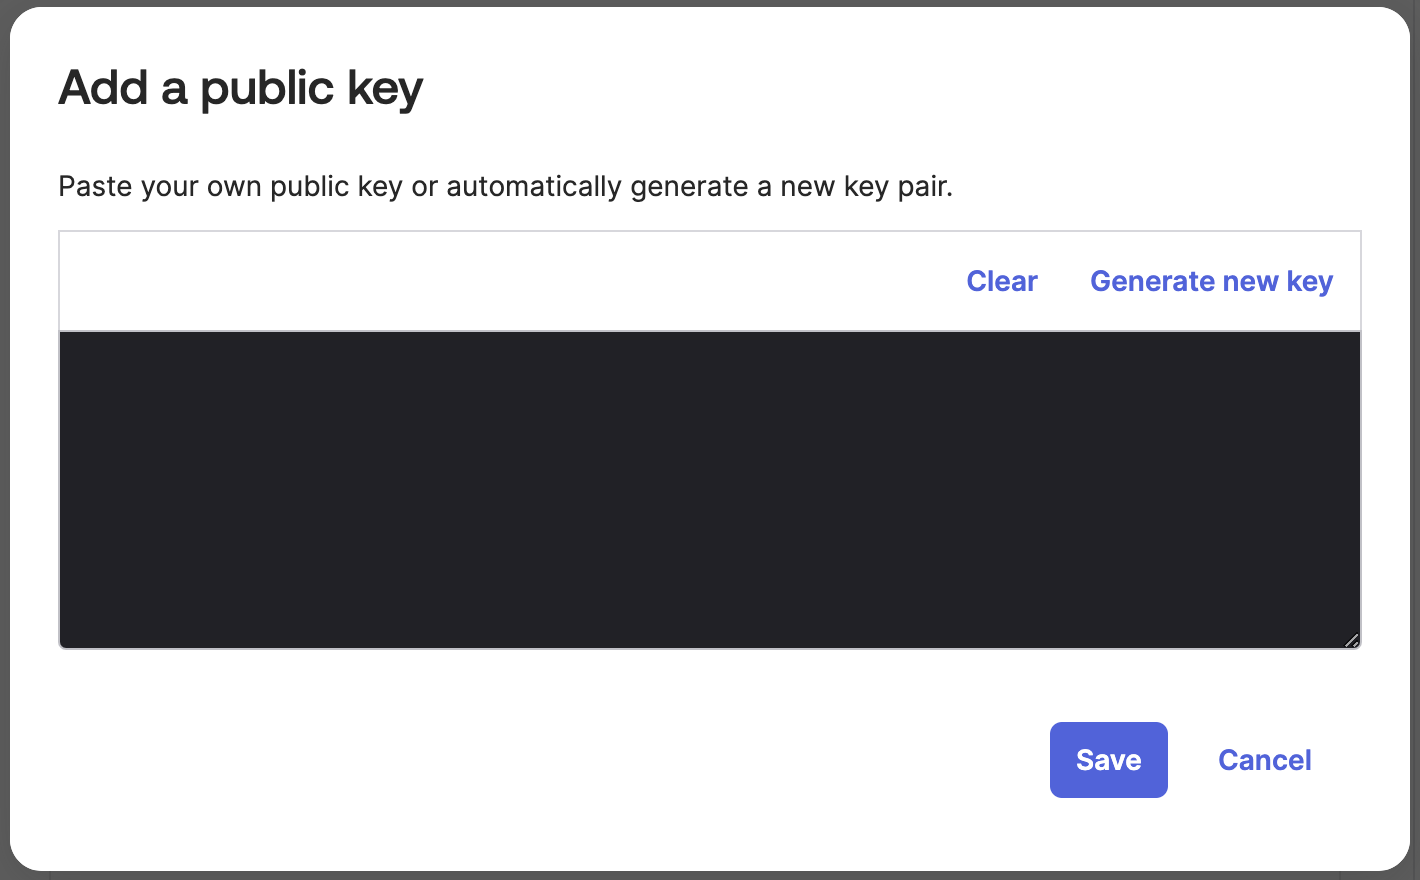
Paste Public key from Incode Workforce
You're all set! Test connection in Incode Workforce by triggering Directory Sync.
Testing the Configuration
Go to Helpdesk Verification and choose employee to whom you want to send a verification request. A list of all employees from the group you have configured in the IAM settings will be displayed.
To test password or MFA reset, go to Self-serve Portal. Once the user’s identity is verified, they will be able to reset their password or MFA. Upon their next login into Okta, they will be prompted to set a new password or configure authentication factors.
Updated 10 months ago